Showing posts with label cream cheese icing. Show all posts

Friday, September 27, 2013

The Nutty Monkey Gets Dressed Up

Hello Sweets,

So I know you've all been patiently waiting to have the final piece of the banana pecan cupcake puzzle, but I had to pick up some fun treats for myself.  I'm super excited to share my finds with y'all, however since it's so late I am just going to wait until tomorrow to unveil them.  I also wanted to show y'all my website but it's not quite ready yet, I will say that it's looking pretty dang good :)  I'm getting closer to it becoming live, which makes me very excited.

Today is the third and final post in the the "nutty monkey" series, and he is getting dressed up for a night on the town.  Lol okay not really but we need to get this sweet treat finished!  Since there are so many delicious flavors already involved in this I wanted to make sure they weren't overpowered with the icing.  The perfect icing that compliments any sweet treat is a cream cheese one, especially when it's a simple as vanilla.  This is a simple basic cream cheese icing, not complicated just good ;)

Cream Cheese Icing
Ingredients
8oz cream cheese, softened
1/2C butter, softened
2tsp vanilla
4C powdered sugar

Directions:
1)  Beat butter and cream cheese together in a medium bowl until smooth and creamy.
 

2)  Mix in icing sugar and vanilla until smooth.
 

To assemble the "nutty monkey";
Pipe the icing from the outside inward and top with the candied pecan, your guests will surely ask for more.
 

The perfect blend of sweetness in the cake and icing, topped with the salty sweet pecan.  These were a huge hit with both adults and children, you won't be able to keep them around long so make sure you set one aside for yourself ;)

I took these and the pumpkin spice cupcakes to my mother's party, part for a going away and part for a birthday.  Everyone complimented me on the flavors and quality, which is exactly why I am putting myself out there and taking a chance with my little business :)
 

I know my logo is not of the best quality right now, but I emailed my artist Dave and he sent me a higher resolution image that looks fantastic printed out.  Now to find a good place to order stickers or maybe even purchase sticker paper and do it myself, lol great more decisions.

Now I am going back to my website because it is soooo close to being done I can't take it, lol seriously Nathan keeps telling me that taking my time is okay but I just want it out there so bad!!  Until next time.....


 Stay sweet,


Jennifer xoxoxoxo


Sunday, December 30, 2012

A Breakfast Treat and Some Christmas Presents!

Hello Sweets,

I hope you all had a fantastic weekend, and that you are ready to ring in 2013!  Do any of you have special plans for New Years eve?  Nathan and I are opting for a romantic night for two in Fort Worth, maybe a candlelight dinner, some dancing, and of course champagne :)  I can't wait.  It will be a nice change from the crowded bar or dance, not to mention super romantic.

So today I thought I would change it up a little bit and do something a little different.  I'm not going as crazy as to not have a recipe included (that would be insane lol), but I am also going to do a product review on some new kitchen toys that I received at Christmas from Nathan's family that I used in the recipe I'm about to share with you :)  I am probably one of only a few women that is okay with kitchen products or appliances as a gift and not be upset about it, actually I'm usually ecstatic :)

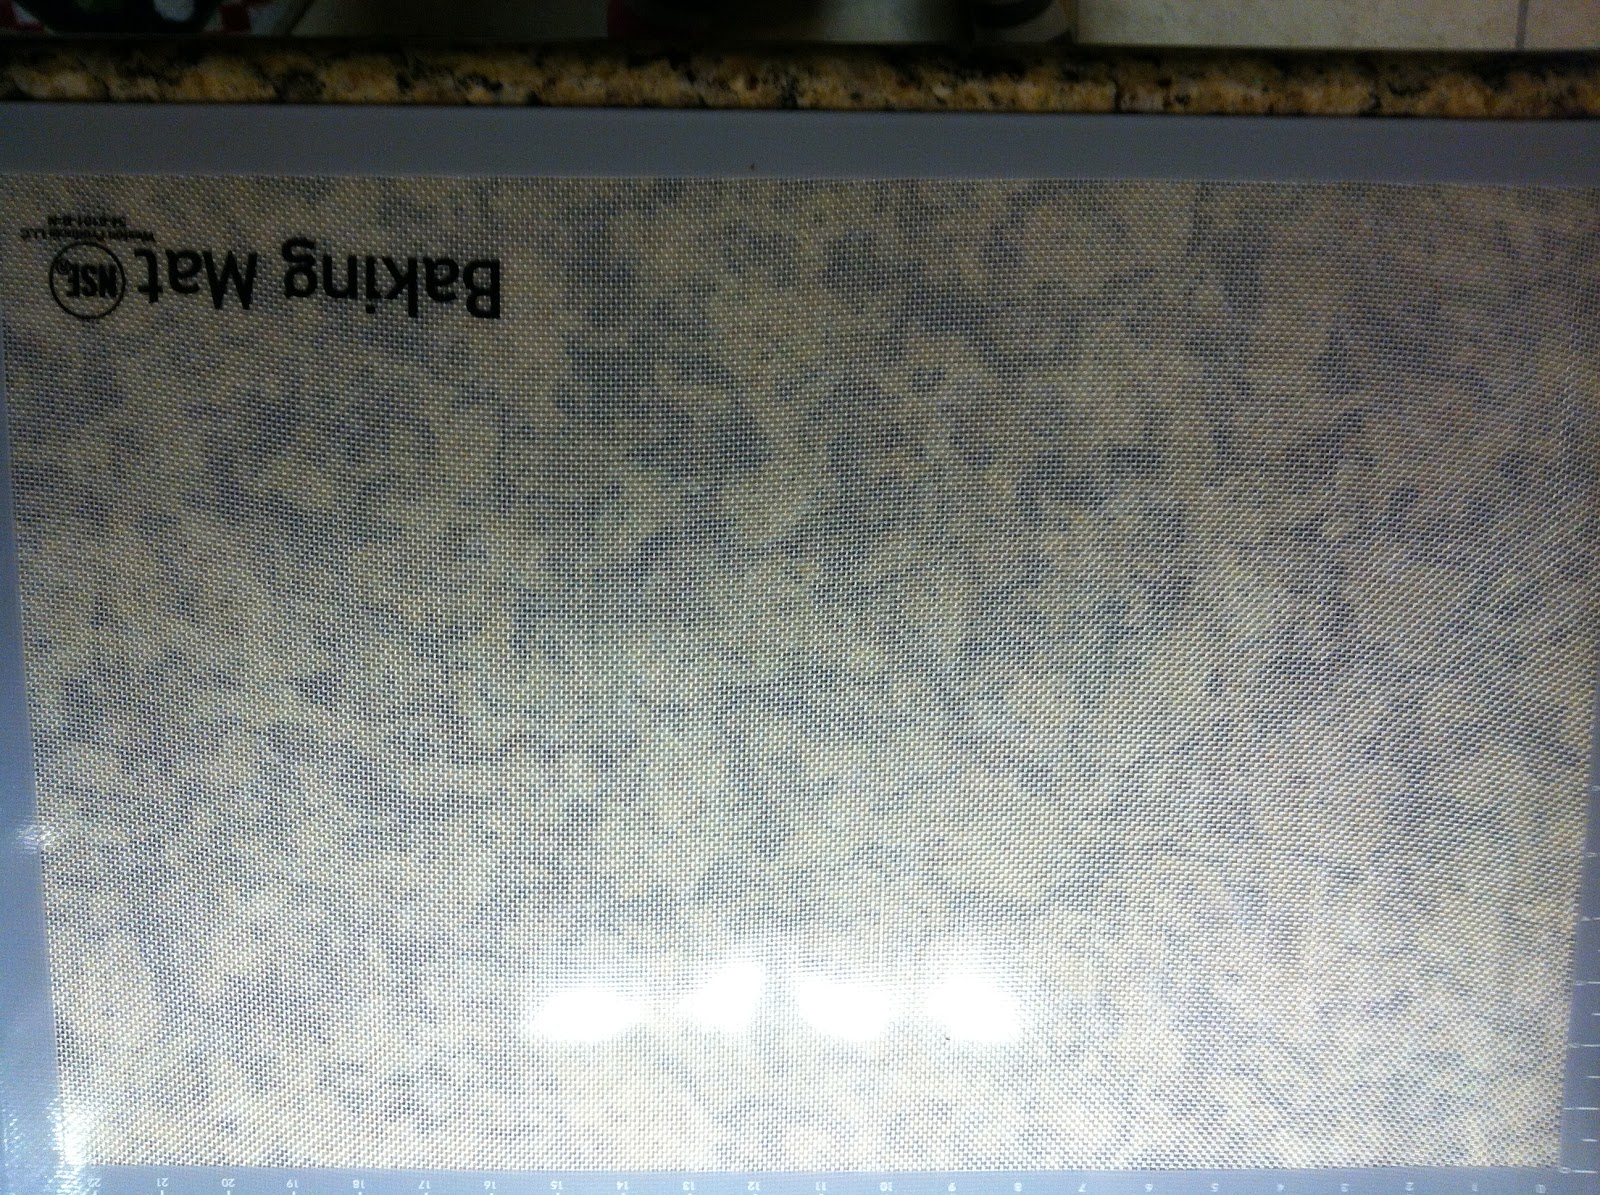
As you all know, Nathan gave me a Kenmore Elite Mixer (details) that is AMAZING (not to mention great for my shoulders, he's the bestest), so I wanted to make something that really needed to be mixed.  Then it was like a light went off in my head, dough needs to not only be mixed but kneaded as well which is usually really hard on me, but not anymore!  So it was time for my cinnamon buns to make their debut once again. Since I was making dough I also got to use my new Betty Crocker non-stick rolling pin (details), and my Weston non-stick baking mat (details).   The mixer is phenomenal.  It came with 3 different attachments; 2 bowls (5 and 6 qt), it has a light to make it easier to see, it has a lift feature so you don't have to tip the bowl to get it out, has a timer that automatically stops after the time you set (super helpful for dough).  It is very powerful (I have yet to go past 3), and it is chrome so it goes nicely with everything.  The baking mat has a lot of great features besides the fact that it is non-stick, it can withstand both extreme cold and heat, it's microwave safe, and it has measurements on it for precision.  The rolling pin of course is non-stick, but it is also slightly longer than a traditional wooden rolling pin which helps simplify the production of any dough.  So my product review is this; I love all of these products and would recommend them to anyone who likes to bake or cook :)

 Isn't she pretty :)
 These work fantastic, even more so together!

 Okay enough of my Christmas goodies, lets get to the cinnamon rolls!!

Homemade Cinnamon Rolls
Ingredients
(Dough)
1 pk of yeast
1 Tbs sugar
6C flour
2Tsp salt
1 1/2C luke warm water
1/2C milk
Inside
2Tbs butter, melted
2/3C brown sugar, dark
1/2C pecans, chopped
1 Tsp cinnamon
Cream Cheese Icing
4Tbs butter, softened
3oz cream cheese
1 1/2C powdered sugar
1/2Tsp vanilla extract
1/8Tsp salt
  

Directions:
(Dough)
1)  Dissolve yeast and sugar in 1/2C of water, let stand for 5-10 minutes (it should double in size).
 

2)  Mix the flour and salt in a large bowl making a depression in the center.
 

3)  Combine milk, remaining water, and dissolved yeast and pour into depression.  Begin mixing flour with liquid making sure all the batter on side of the bowl is worked into dough.
 

4)  Knead until a smooth dough results and the sides of the bowl are clean.  Occasionally dip hands in water (I added small amounts in the mixer when it was dry) while kneading to give a smooth elastic finish.  Cover with towel and let rise in warm place for 2-4 hours.
look at the beautiful dough hook

Inside
1)  Roll dough into a rectangle about 18"x16".
 

2)  Brush with melted butter.  Combine sugar, cinnamon, and pecans and sprinkle over dough.
 

3)  Starting at the long end; roll dough tight as possible.  Moisten edges to seal, cut into approximately 20 pieces.  Place rolls cut side down into two lightly buttered round cake pans (rectangle works too!).  Let rise 1 1/2 hours until they double in size.
  

 4)  Preheat oven to 350F and bake for 25 minutes.

Icing
1)  Combine all ingredients in a mixing bowl until well blended.

2)  Frost cinnamon rolls with icing while rolls are still in the baking pan and enjoy!

These cinnamon rolls are to die for, and they are great for a family breakfast (I served Nathan his with a bowl of fresh fruit).  Plus, they're not too difficult to make.  This was actually my first experience activating yeast when I made them the first time and I can say I was impressed with myself :)

Well I am going to be honest with you, I may not have a post tomorrow night because of the celebrations, but I may try to write it during the day before we leave for our romantic evening.  If I don't post tomorrow I want to wish you all a very happy new years and hope you start your year off in a positive light.  Spend it with the ones you care most about :)  Also, thank you for all your support in my first year of blogging, I am looking forward to my first full year in 2013!  Until next time.........


Stay sweet,


Jennifer xoxoxo


Saturday, October 20, 2012

Canuckette's Pumpkin Cupcake Patch

Hello Sweets!

I hope you all had a fantastic Friday.  I know mine hasn't been the best health wise, but this is nothing new, so I trek through as always :)  Yesterday Nathan and I had a relaxing Texas day, that means we enjoyed each others company, the beautiful weather, finalized our Halloween costumes (yes I will be blogging about my favorite time of year ;)), and then I baked him some yummy pumpkin spice cupcakes.  I spoil this man so much, but it brings me the utmost joy to do so, my runner up would be my cutie nephew Miguel!
This brings a smile to my face, seeing my little burrito enjoying my treats!

Now I have only made this recipe once, and it turned out great, but this time I decided to test out different spices and the measurements.  For those of you whom don't know me, other than through my blog, this is the way I like to cook and bake.  It's actually the way I was raised.  Like my grandfather always said, "recipes are directions and guidelines only!", and I couldn't agree more (he is a wise man after all).  When I cook, I love to get my nose up really close and smell the aroma.  Of course, I will take a taste now and then (to make sure it's not poison lol), and I have even been known to literally get my hands it there too!  So when I decided to make these delicious cupcakes again, I decided to venture further with my spices than originally.  There are two recipes with this one, since you need special icing to go with pumpkin cupcakes ;), so hang on to your whisks we are heading to cupcake town!

Pumpkin Spice Cupcakes
Ingredients
2C flour
1tsp baking soda
1tsp baking powder
1tsp coarse salt
1tsp cinnamon
1tsp ginger
1/4tsp nutmeg
1/4tsp allspice (or cloves)
1C packed light brown sugar
1C white sugar
1C butter, melted and cooled
4 large eggs
1 can (15ounces) pumpkin puree
I used both pumpkin spice and cloves in addition to what's listed above

Directions:
1) Preheat oven to 350F.  Line cupcake pans and set aside.  In a medium bowl whisk together flour, baking soda, baking powder, salt, cinnamon, ginger, nutmeg, clove, pumpkin spice and allspice, set aside.  The extra spices I added I eyeballed, approximately 1/4tsp each.
Am I weird because I love these types of photos??

2)  In a large bowl, whisk together: brown sugar, white sugar, butter, and eggs.
:( harder to keep liquids separate

3)  Add dry ingredients and whisk until smooth.  Whisk in pumpkin puree.
loving the fall color!

4)  Divide batter evenly among liners, filling each about 1/2 way (I only had a 12 and 6 muffin tins).  Makes 24 cupcakes.
waiting is the hardest part

5)  Bake until tops spring back when touched, and a toothpick comes out clean.  Takes about 20-25 minutes.  Rotate pan once if needed.  Transfer to wire rack; let cool completely.
your kitchen will smell divine mmmmm

Brown Sugar Cinnamon Icing
Ingredients
8oz cream cheese, room temp
1 stick of butter, room temp (1/2C)
1/4C brown sugar
1tsp vanilla
1/2tsp cinnamon
4-6C icing sugar
I also added pumpkin spice, allspice and food coloring to make it more festive

Directions:
1)  With an electric mixer, mix cream butter and cream cheese until light and fluffy.

2)  Beat in brown sugar, vanilla, cinnamon, allspice and pumpkin spice until fully incorporated.

3)  Gradually add icing sugar(powdered sugar) in small portions, (I only used about 2 1/2 - 3C), scraping down the sides with each addition until desired consistency is reached.  When you think it's ready, slowly add the food coloring until you reach your desired color :)
Tada!

There will be plenty of icing for 24 cupcakes and plenty left over.  Since I was going with a pumpkin patch theme, I decided to top the cupcakes with green decorative sugar to imitate the stems lol.  The last time I topped them with graham crumble in an ode to pumpkin pie.  Go with whatever inspires you ;)  The addition of the extra spices gave the recipe a more robust flavor, in other words......delish!!!
My little pumpkin "cupcake" patch

I hope you all enjoy this recipe as much as my family, friends, and myself do!  Let me know what inspires you in this recipe, I always love to experiment with an already great recipe!  Until next time.

Stay sweet,


Jennifer xoxoxo